|
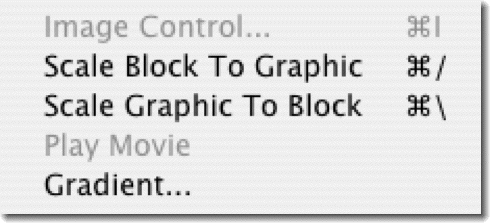
Modifies greyscale images. First select the picture block that contains the image you want to modify with the cropping tool.
The Image Control dialog box provides Greymap Control and Special Effects options. The changes you make to the image are shown in the greymap box, on the left of the dialog box. You can posterize an image, create a negative of the image, change the levels of grey in an image, and create a dot or line screen for an image with the Halftone button.
-
The greymap box lets you adjust the levels of grey in the image. The graph maps the shades in the original image to the shades displayed on screen (or in the printed image).The horizontal axis represents the 128 shades of grey in the original scanned image; the vertical axis represents the 128 shades of gray in the image on your screen (or that you print). The diagonal line shows a one-to-one correspondence between input and output-shade 1 in the file is shown as shade 1 on screen, shade 2 is shown as shade 2, and so on. The graph changes as you manipulate the Greymap Control and can also be edited directly with the mouse. Use the zoom arrows to magnify the graph for greater control.
-
The brightness control provides easy control over the brightness in the image. You can change the brightness of the image by dragging the slider or pressing the arrows on the brightness control bar. As you change the brightness, the graph changes to reflect the new brightness value.
-
Posterize lets you "posterize" a halftone image. Type a number in the box next to the Posterize button and then click the Posterize button. (The number must be lower than the number of grey levels already in the image.) The graph changes, taking on a step-like appearance, to reflect the new number of grey levels.
-
Normal restores the image to its original state.
-
Negative creates a negative image.
-
Halftone produces a halftone by screening the image with either a line screen, a dot screen, or an elliptical screen. Or you can choose to use the document screening values. Enter the number or dots (or lines) per inch and the screen angle in the Halftone dialog box. The number of dots (lines) per inch determines the resolution of the screen, and affects the final quality of the printed image. It's hard to see the effect of setting a dot screen at an angle, but setting a line screen at an angle creates interesting and visible effects. You can't see any of the halftone effects on the screen image after you click OK. They only appear when your print on a PostScript printer.
Changes you make in the Image Control dialog box do not take effect until you click Apply or OK. The Apply button lets you see the changes you have made without closing the dialog box. Use the Apply button to experiment with different settings. When you've achieved the desired effect. Click OK. The Cancel button closes the dialog box and restores your picture to its original state or its state the last time you clicked Apply.
|
|
|
If the picture block contains a QuickTime movie this command displays the standard QuickTime movie controller. You can adjust the volume and start, stop, or step through the movie. When the movie is done the movie controller disappears. To stop the movie while it is playing and put away the movie controller, hold down the Command key and press the Period (.) key.
|
|
|
Fills a picture block with synthetic gradient data according to the values you enter in the dialog box. The gradient may be linear or circular, going from start color and tint to end color and tint in smooth increments. A linear gradient at zero degrees goes from left to right. One at ninety degrees goes from top to bottom. You may enter any angle between 0 and 90 in 1 degree increments. Circular gradients and linear gradients at angles other than 0 degrees and 90 degrees take a bit longer to build.
Cropping and scaling are ignored by gradients. Gradients always scale to exactly fill the picture block. The gradient completely replaces the previous graphic, if any, the picture block contained.
-
Screen controls the printing of the gradient to PostScript devices. You can choose to use the document screening values. Otherwise, select the type of screen, enter the number of dots (or lines) per inch and the screen angle in the dialog box.
|
|
